How To Use Our Backstamp Maker Created: Jun 10, 2024
The backstamp option is great for branding your prints and adds another layer of value to your customers. The backstamp feature can be used for branding purposes, limited editions, special messages and more. While we encourage our customers to create their backstamps using their own photo software such as Photoshop, our backstamp maker will allow you to compose a fully functional backstamp by itself.
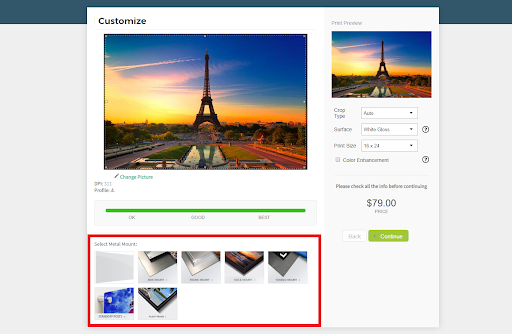
If you’d like to add a backstamp to your print, you must first ensure that you have selected the correct frame option. Any mountings option except the box mount option will allow for a backstamp to be added to your print. You can select the frame option of your choice on the Customization page of the ordering process.
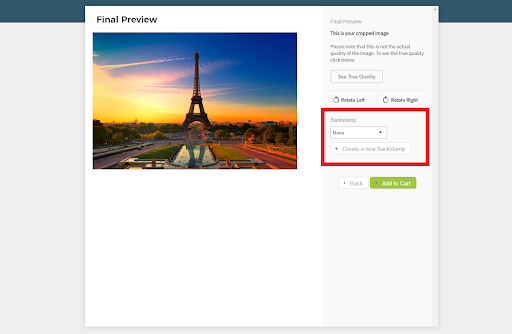
After you have selected all your print options and clicked on "Continue", you will be taken to the final preview page. Here, you will see the backstamp features right above the "Add to cart" buttons. From the dropdown, you can select a backstamp that you previously saved, or you can create a new one. It's recommended to save and reuse old signatures as a template to make future backstamps faster and easier to create.
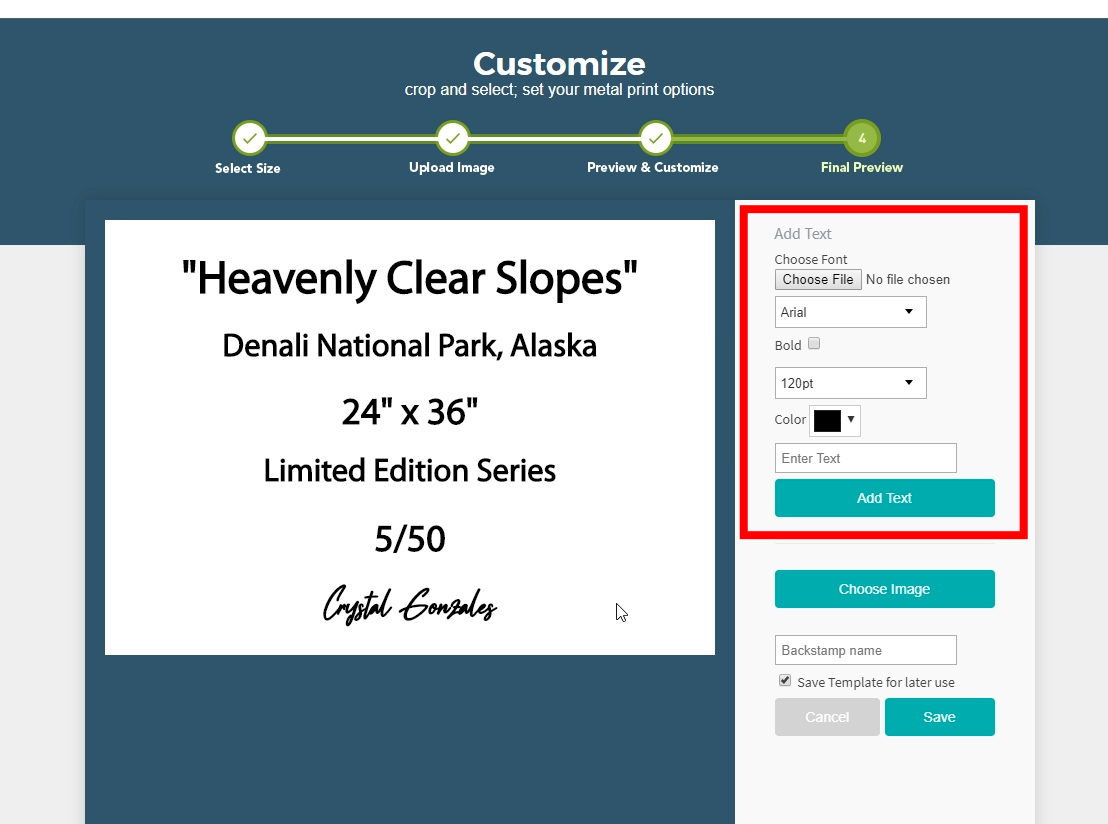
There are two different ways for you to create a backstamp. First, you can create one from scratch by adding lines of text. Choose the font (or upload the TTF of your favorite font), adjust the size and change the color of the text.
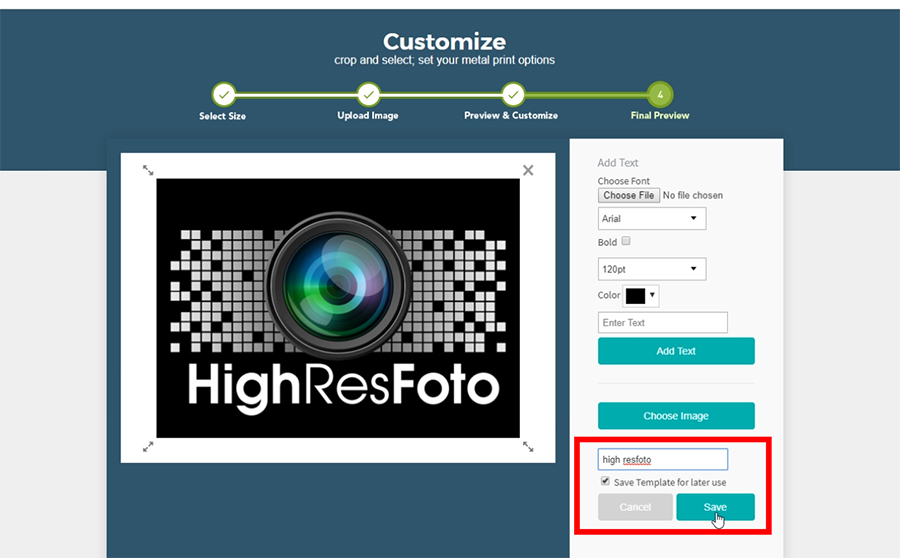
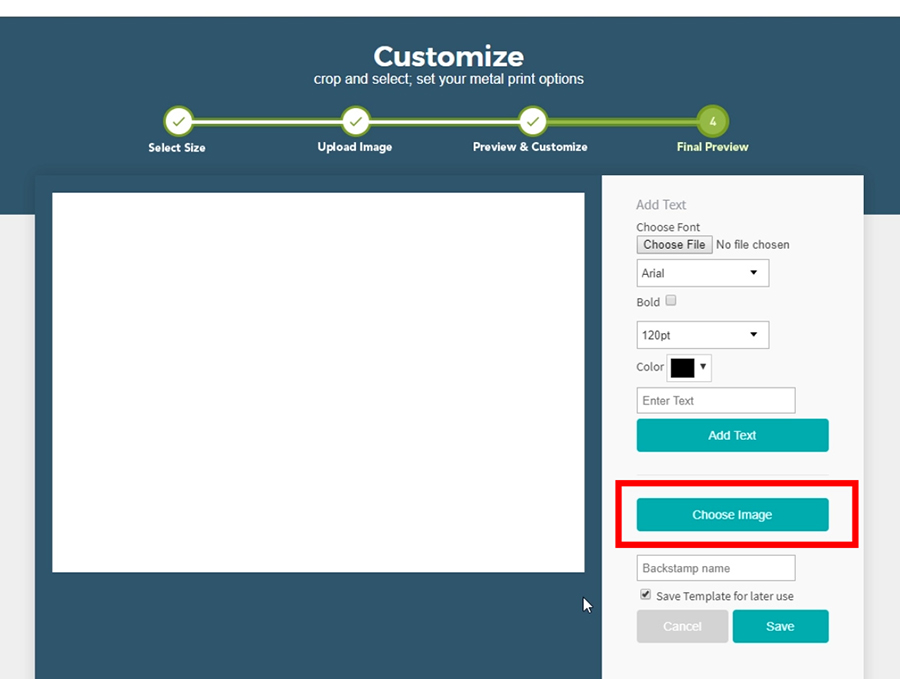
Add multiples lines of text by clicking a blank area on the canvas to deselect the current text. If you have a digital signature, you can import it by selecting “Choose Image”.
The backstamp maker will automatically center all text and images on the canvas.
To import your own graphics, logo or digital signature, click on the “Choose Image” graphic and select the file from your computer. You are able to import an entire 5" x 7" backstamp that you made using graphical software such as Photoshop.
The backstamp maker can support both native text and uploaded images.
Adjust the size of your imported graphics by dragging the corners. The backstamp maker will automatically center all text and images on the canvas and scale them proportionally.
When you’re happy with your backstamp, you can name and save the template for future use. Then click “Save” to continue with your order.