The Ideal Resolution for Metal Prints Created: Jun 10, 2024
We often get asked how much resolution (or pixels) is required for printing on metal. In the printing world, the resolution is measured by the number of pixels a photo file contains. The more pixels, the more resolution it has. it sounds pretty simple, but it's just a bit more complicated than that and we are going to explain how much resolution you need depending on your print size and other factors.
PPI or DPI?
When photographers typically talk about resolution, the usual terminology is DPI which stands for "dots per inch" or PPI which means "pixels per inch". Technically, PPI is the correct acronym for resolution in a photo since its specifically referring to the number of pixels. On the printer level, it deals with dots. There can be many pixels within a dot or many dots within a pixel depending on the printer. DPI and PPI are both acceptable terms when referring to the quality of one's image.
How many pixels does my image need for metal prints?
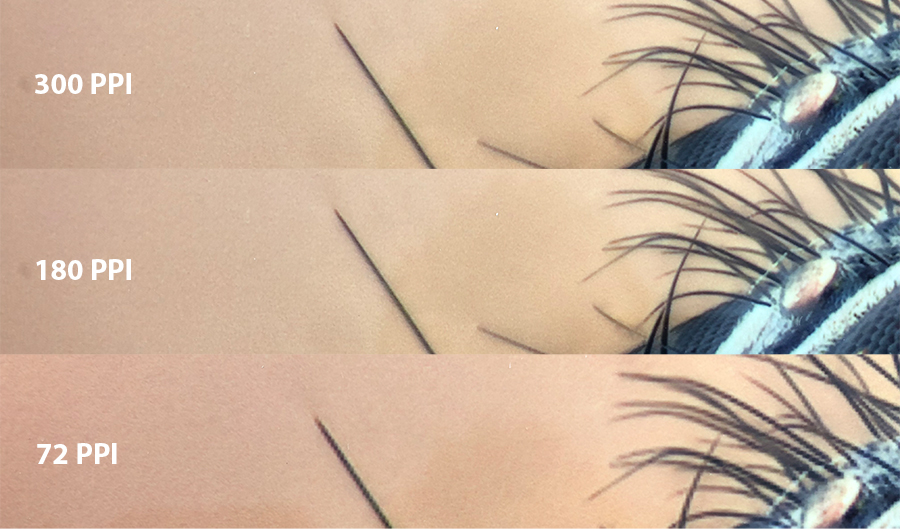
Many people think 300 PPI (pixels per inch) is the standard for any kind of print and that is simply not true. 300 PPI is the optimum resolution for some printing methods such as a printing press or laser prints but not for the dye sublimation process or any process that uses an inkjet printer. We have found that when printing the same image in 300 PPI and 180 PPI, there is no noticeable quality loss, even in the super fine details when viewing up close. Obviously, the more resolution your image has the better, but you will not get any noticeable benefit to having your image at 300+ PPI as opposed to 180 PPI. An image file with lots of resolution (pixels) is ideal because it keeps your options open to printing it much larger.
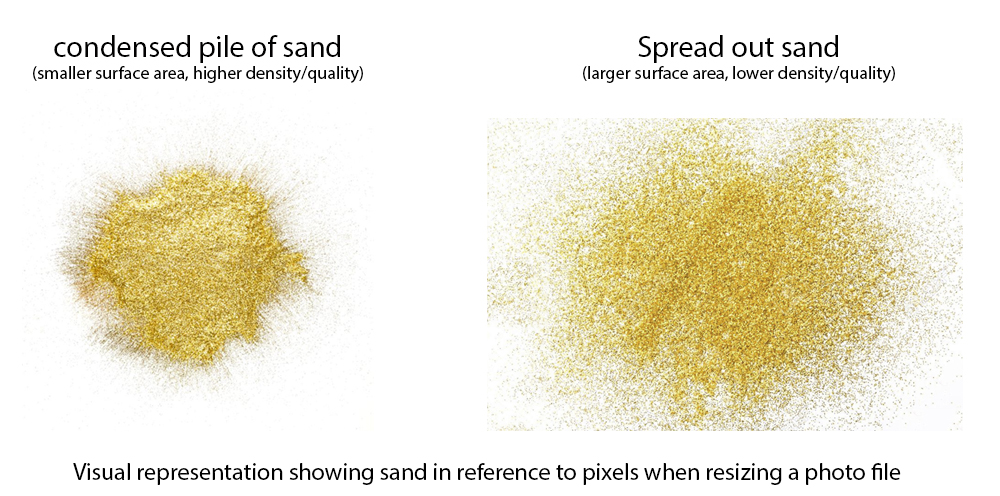
Think of pixels as a pile of sand. If you have 3000 pieces of sand, the more you spread them out, the more gaps you will have overall. The tighter you combine the sand pieces, the denser it will be. When you have too much sand, it will pile on itself and reach its density limit. Think of resolution the same way. If you have more than the maximum needed resolution of 180 PPI, those extra pixels will not serve any benefit. They also will not hurt your image except for causing the file to be larger. It is best to keep a file saved with the maximum resolution so that it can be printed at larger sizes in the future.
Viewing Distance Matters.
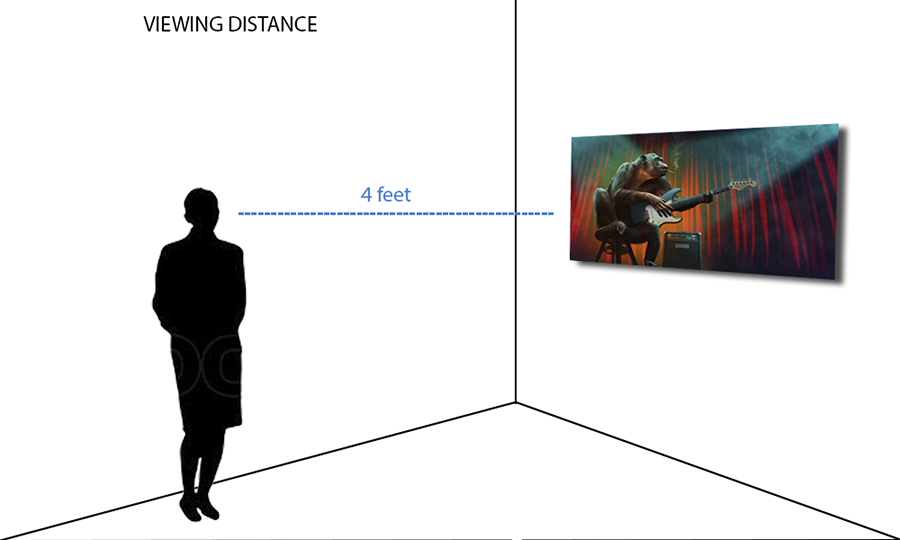
While 180 PPI is the ideal optimum resolution, you will not always be able to hit that amount of resolution and that's ok. 150 PPI and up is perfect for smaller prints that are going to be viewed up close with a very short viewing distance. Prints that are larger than 16" x 24" are going to be viewed at a greater distance and therefore do not require as much resolution. 100 PPI is perfect for prints larger than 16" x 24" up to 32" x 48" as no noticeable quality loss will be noticeable from a short viewing distance of 3 feet away. For extra-large prints such as 40" x 60" and 48" x 72" you can get away with 60 PPI and sometimes even less due to the increased viewing distance. Many of our professional artists and photographers print their extra-large prints at around 50-80 PPI and their prints look very sharp under normal viewing distances of 4-6'. 
The above image demonstrates ideal viewing distance for medium to larger prints. Prints size 20" x 30" should be viewed at a distance of no less than 3 feet while larger prints should be viewed at minimum 4 feet.

The image above shows an isolated section of each print at different resolutions. You can see there is no noticeable difference between 300 PPI and 180 PPI but when you get to 72 PPI the quality loss is apparent up close. The quality loss seen at 72 PPI will not be noticeable from a viewing distance of 3 feet away.
72 PPI is a totally acceptable resolution range for prints larger than 24" x 36". Even the most expensive camera setups that cost over $60,000 will not be able to print their images at 48 x 72 at 180 PPI.
TIF or Jpeg? Which file format should I use?
Most photographers like submitting files in the TIF format. Uploading or submitting your file as a TIF will take much longer than using a compressed format such as Jpeg. When you submit a TIF file, you are sending all of the data within the image, including layers and channels that may be hidden. A Jpeg is a snapshot of your current edit with essentially all of the previous information saved for future use. It is best practice to send out a Jpeg for printing and to keep the TIF file saved locally for future edits or enhancements.
When to resample your images
Most of the image files that make their way into our lab have been resampled. Resampling simply uses computer algorithms to generate pixels to artificially produce more resolution. This typically does not increase resolution and/or quality and can sometimes produce an inferior file for printing. It is always best to leave your image alone and print it the way it came off your device. If an image is low quality, adding resolution by resampling is most likely not going to make a difference.
Resampling options
Most photographers will work in either Adobe Lightroom or Photoshop. Both use the same algorithm to resample your photos. Both have come a long way in the last 10 years but it still is not perfect. If you're working with a low-quality image, then there is almost nothing you can do to get it to produce a print at a larger size. When resampling, it is always best to be reasonable and not overshoot your pixels. If an image is at 80 PPI, you may want to resample to 120 PPI as opposed to going for the full 180 PPI (as tempting as it may be). You may also want to sharpen your photo a bit after the resampling as the added pixels will usually cause a bit of softening overall in the image.
Another option for resampling a vector like image, or when blowing up a photo for large display or sign, is Vector Magic, however, you will need to understand its limitations
See Related: Why your prints don't match your monitor.


