
Hanging Metal Prints With Command Strips
Not every metal print owner can secure their metal print to a wall with a nail or screw. For the renter, hanging metal prints with Command Strips is the best option available. This also goes for those that don’t want to put holes in their walls. Command Strips help reduce damage as well as any repair costs that may come with putting a hole in your wall. They also save you from the headache of having to find a stud in the wall.
Why Hang Metal Prints?
Hanging metal prints in your home not only helps liven up a room or two, but they also add character to whatever room they’re showcased in. They offer a way to express who you are, and they come in different finishes such as white gloss, white matte, silver gloss, and silver matte. With ChromaLuxe High Definition metal and our dye sublimation process, you will have vibrant metal prints that will last you a lifetime.
Whether it is a small 8 x 10 of your family or a 32 x 72 print to accent your family room, there is a size for you. Larger prints require more than one person to hang, or they may even need professional handling. For prints that are 16 x 24 and smaller, one should be able to hang it themselves.
While every metal print comes with a mount type and backing, we understand not everyone can hang their print the traditional way on their wall. In today’s article, we are going to cover how you can use Command Strips to hang your metal prints on the wall when using a premium frame mount and heavy weight Command Strips. It is a rather easy process
Continue reading to learn about the following:
- What are command strips
- Picking the right wall for your metal print
- Preparing your wall and metal print
- Applying Command Strips to your metal print mount
- Mounting your metal print with command strips
What are Command Strips?
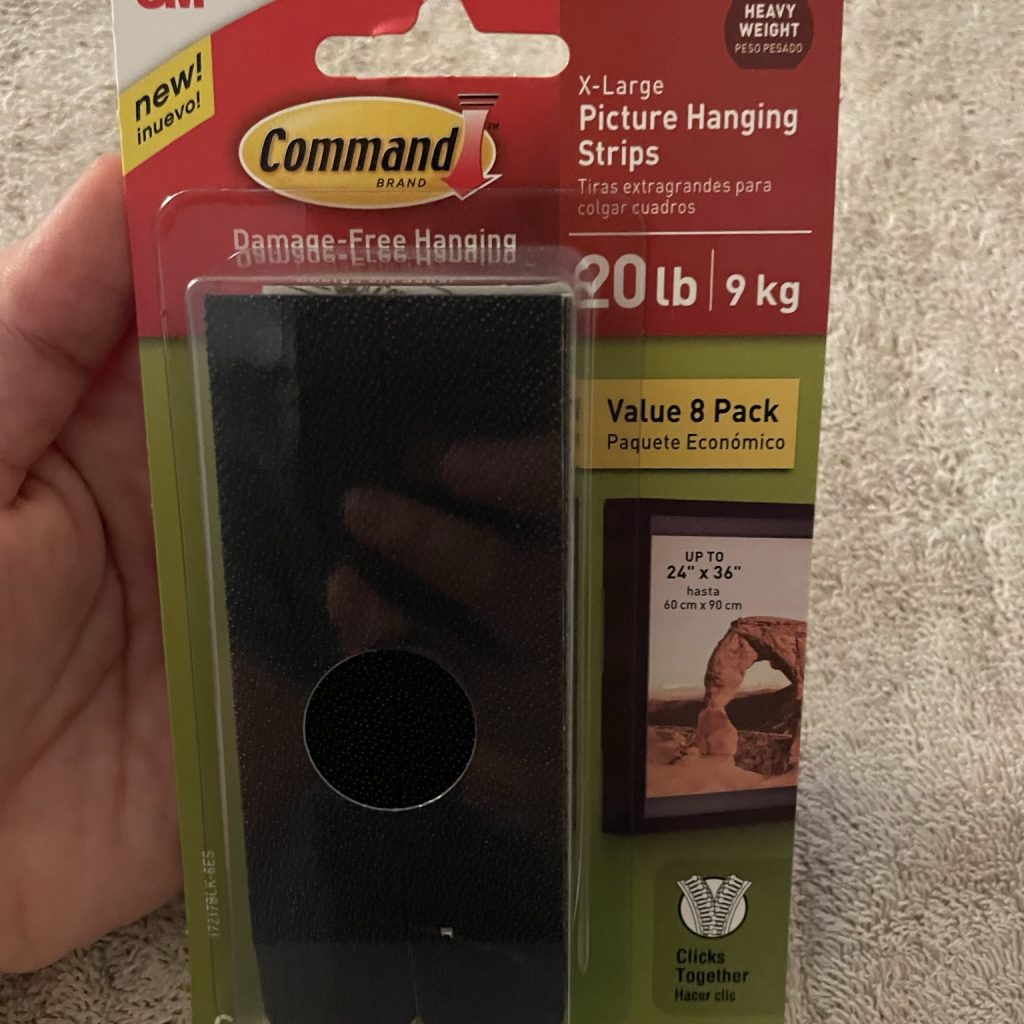
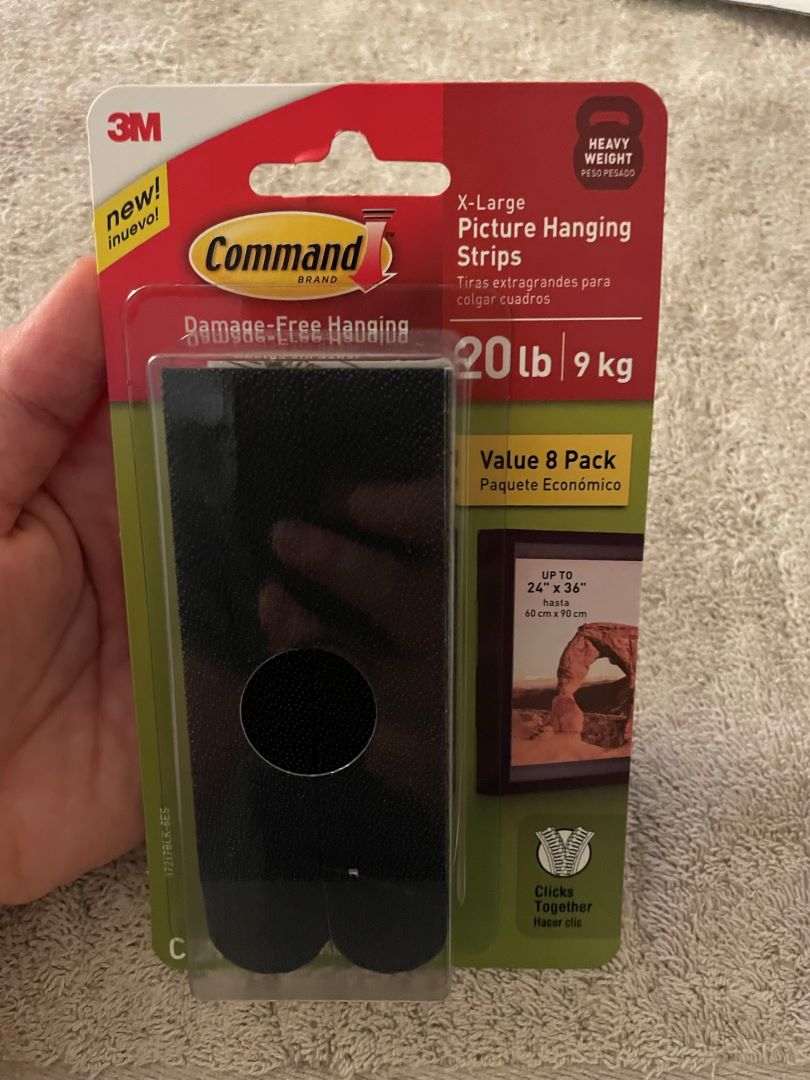
Command Strips are the most versatile type of adhesive tape, being both strong and removable when stretched. The bonding power of the strips makes it the ideal medium to use with their partnering hooks, cord clips, and picture frame strips. Making their debut in 1996, Command Strips quickly rose to popularity due to their simple application and promise not to ruin your walls. Without the worry of damage from nails or use of tools, both homeowners and renters alike are able to embellish their homes in a manner that pleases him. Command Strips are commonly used to hang art, decorations, utility cords, posters, and various home accessories. While most strips hold up to ten pounds or less, there is a new line of heavy-weight Command Strips.
These new ones can hold up to twenty pounds without risk of damage.
Picking the Right Wall For Your Metal Print
Hanging your metal prints with command strips is a great nail-free alternative, but it requires the right wall surface. Command Strips are not going to stick on a textured or brick wall, they need a smooth surface. The wall you choose should be smooth, which includes painted wall boards, metal, finished wood (stained or varnished), and tile. You can also adhere your Command Strips to glass or painted cinder block (commonly found in school buildings). Hanging your metal prints with command strips is a great nail-free alternative, but it requires the right wall surface.
Command Strips are not going to stick on a textured or brick wall, they need a smooth surface. The wall you choose should be smooth, which includes painted wall boards, metal, finished wood (stained or varnished), and tile. You can also adhere your Command Strips to glass or painted cinder block (commonly found in school buildings).
Using Command Strips on wallpaper is not recommended, either. Wallpaper is a delicate material, and it will tear when removing the adhesive strips. You also cannot apply command strips to fabric walls (i.e. a cubicle or partition).
Another article to consider when choosing the right wall is also choosing the right room. If you pursue a glossy metal print to elevate your space, its radiance can be a distraction in a well-lit room or if hung across from a window
Preparing Your Wall and Metal Print
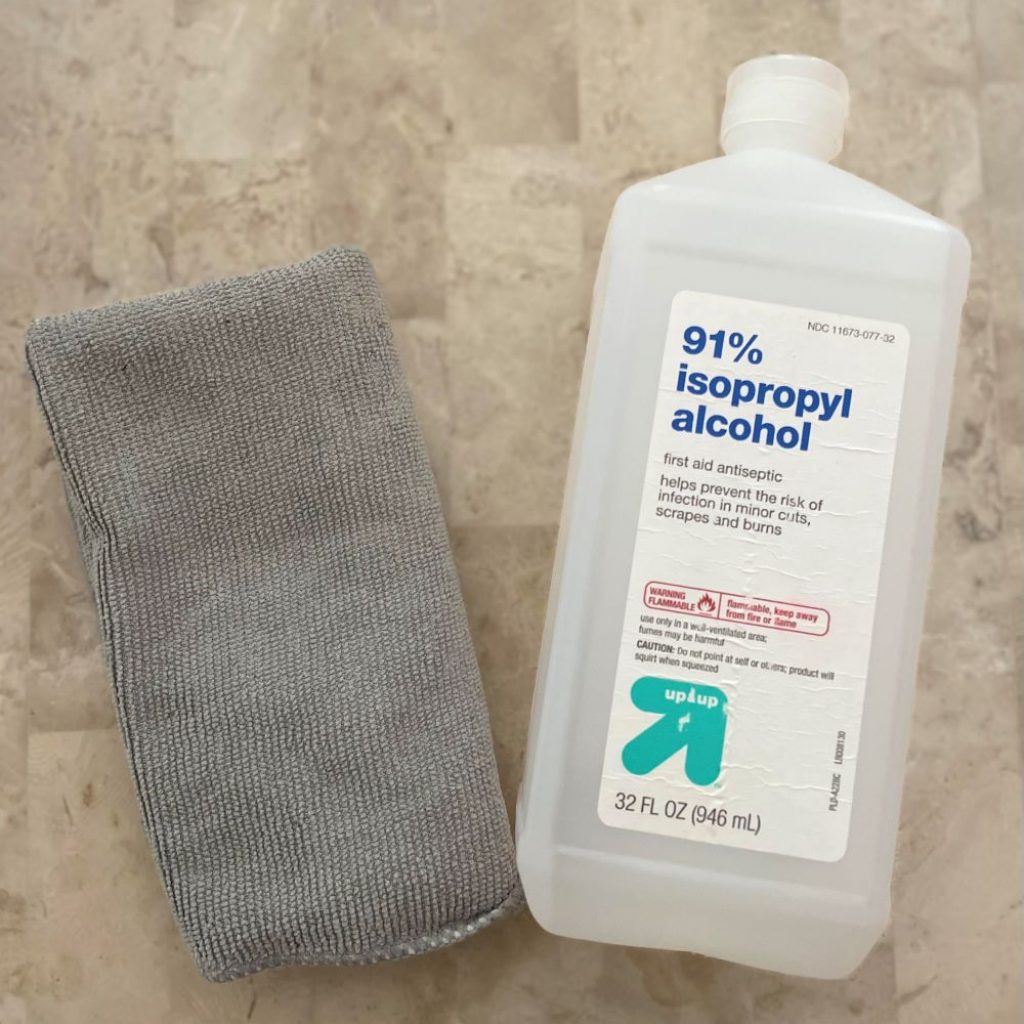
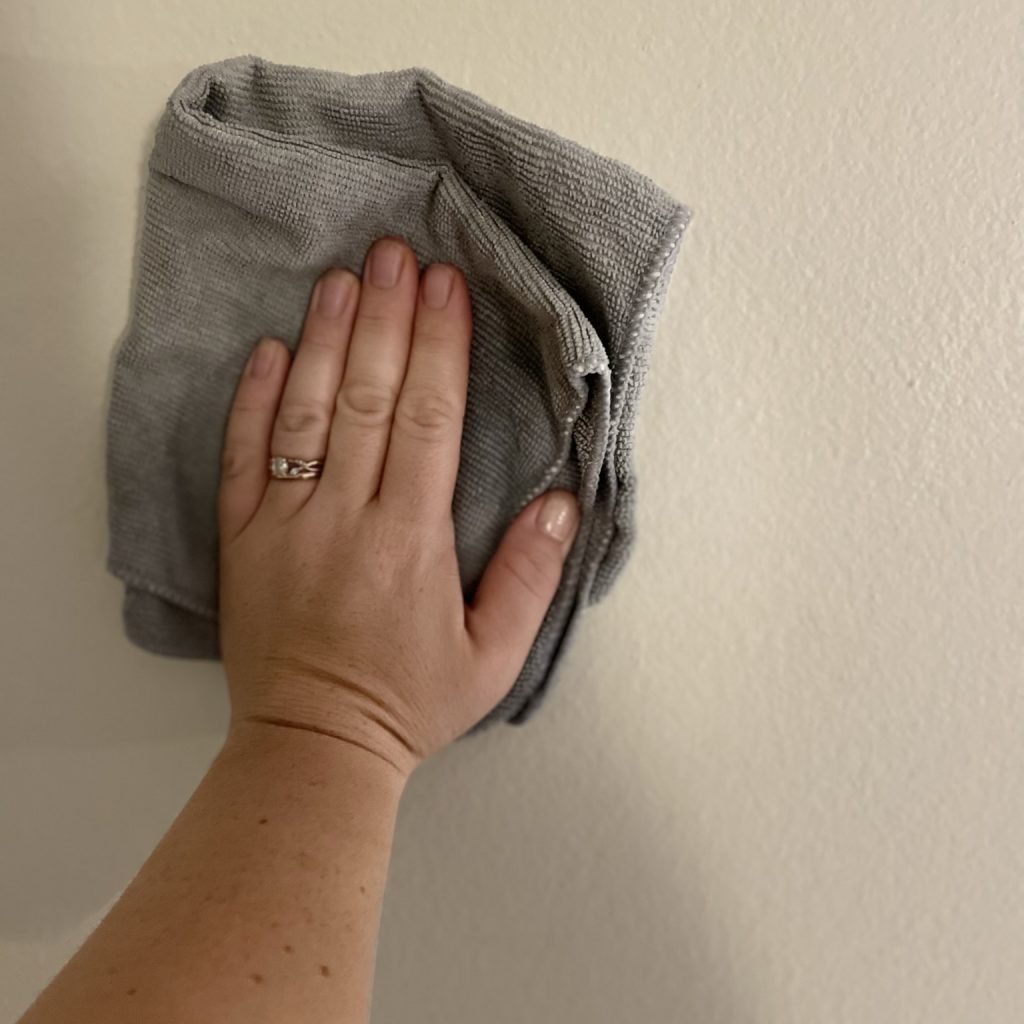
Before adhering your Command Strips to the wall, prepping both your wall and your metal print mount is required first. Your wall should be both smooth and clean. Start by dusting any lint and debris from your wall, and then wipe with a microfiber cloth that is damp with isopropyl rubbing alcohol. Using a household cleaner can leave behind a residue whereas rubbing alcohol helps ensure the bonding of the strip with the wall.
If your wall has been freshly painted, making sure it is fully cured is very important. Waiting seven days after the paint has dried is an ideal time frame.
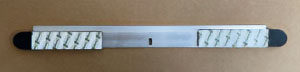
After prepping your wall, you will need to ready your metal print and the premium mount. Similar to prepping your wall, you are going to need to clean your metal print. With a microfiber cloth, gently dust your metal print. Next, dampen a microfiber cloth with rubbing alcohol and wipe it down. Gently place your print face down on a microfiber cloth and turn your focus to your mount. Wipe your mount with a microfiber cloth dampened with rubbing alcohol. Let it dry. Now, you’re ready to place the Command Strips on your mount.
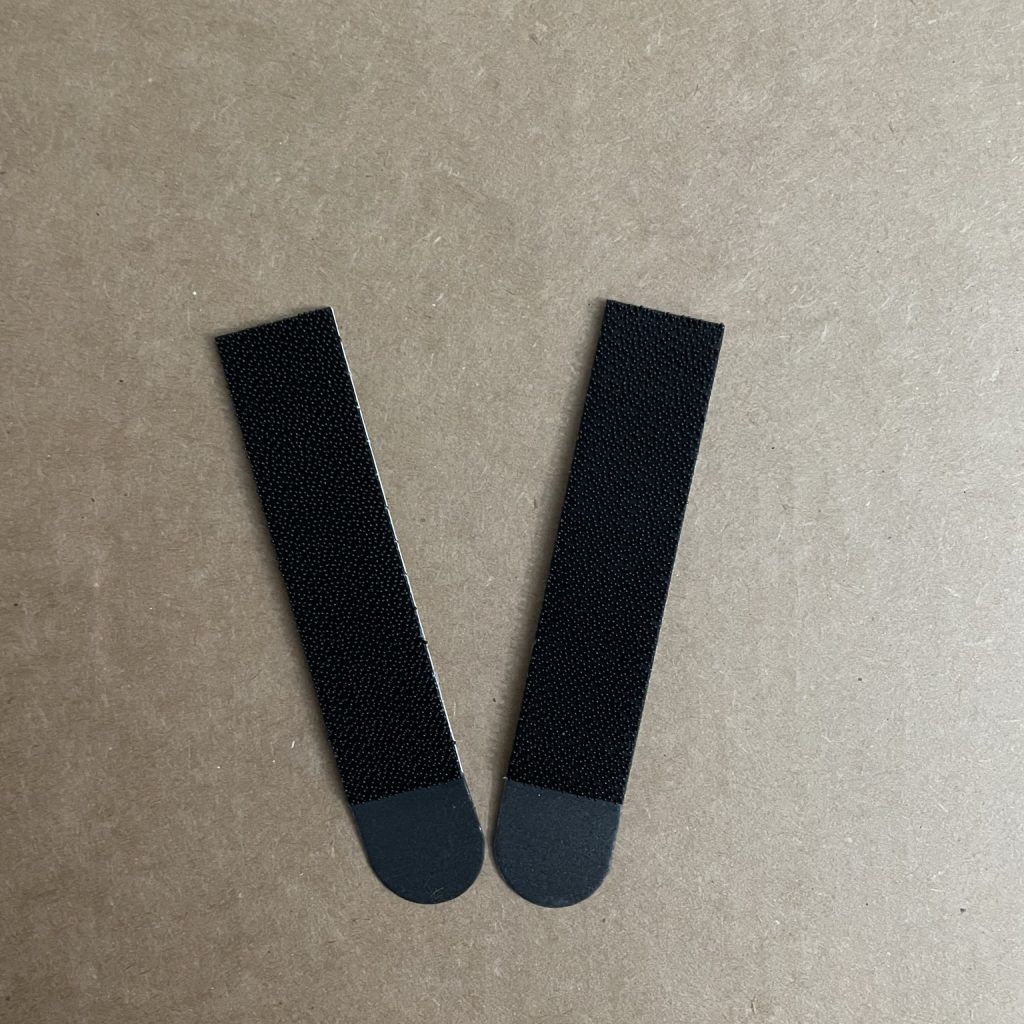
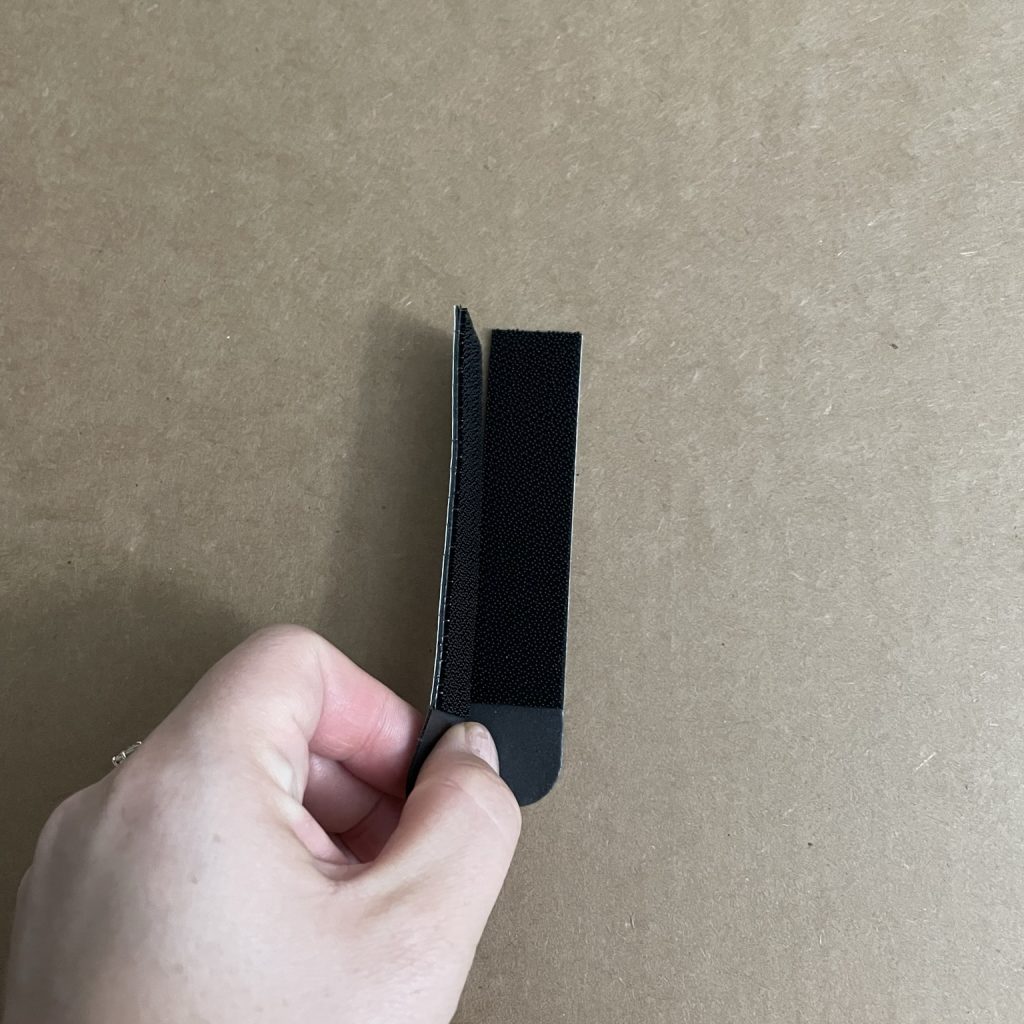
Command Strip Application
Keeping your metal print flat on the microfiber cloth, you are going to open your Command Strips. Carefully separate the strips and then click them together. After peeling the liners from one of the strips, place it on the cleat of your premium frame mount. Repeat with the other strips, making sure you apply them evenly.
Mounting Your Metal Print With Command Strips
You are now close to hanging your metal prints with Command Strips. These heavy-duty hook and loop strips will easily adhere to the premium frame mount cleat. After lining up your cleat, make sure you have a level hanging. Pressing the strip firmly down on the cleat, carefully pull the liner off, and press it against the wall. The general rule of thumb with Command Strips is to wait 1 hour for the adhesive to build up. After 30 seconds, carefully peel the cleat off the wall, leaving behind the other half of the strips. After an hour or longer, you can line the strips on the cleat with the ones on the wall. Press the cleat until you hear the strips “click.” Now, you can safely hang your metal print with Command Strips. Secure your print onto the cleat, and you are good to go.
Place Strips on Cleat 
Press Cleat Against Wall, Level, and Peel 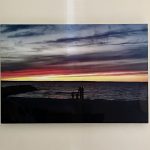
After an Hour, Place Your Print on the Cleat Mount


